
I got the basics of this pillow case from Martha Stewart, my hero. But I needed to write down the instructions since that's a video. So, I thought I'd share with you.
BONUS! In case you're afraid of math, I've added a handy dandy calculator for you. Pretty easy!
What you'll need
- Fabric (size depends on pillow size, see calculator)
- Ribbon, bias tape, or extra fabric to make ties ~ 4" longer than the circumference of your pillow
- The usual sewing equipment
Get these 3 measurements from your pillow:
D for Diameter
L for Length
C for Circumference

(something's messed up with my graphic editing software, sorry for the fuzzy colors)
 |
| Diameter |
 |
| Length |
 |
| Circumference |
It's lo-og. It's lo-og. It's big. It's heavy. It's wood.
It's lo-og. It's lo-og. It's better than bad. It's good!
Ok, couldn't resist. Onto the pattern...
Seam Allowance = 1"
(If you're new to sewing, the seam allowance is the amount of extra fabric you'll need to have room to sew your fabric together. You can change your seam allowance if you want, especially if you want to work in cm.)
If you don't want too know the math, skip ahead here.
If you want to know the math behind the calculator (like me), here it is:
(S=1" for seam allowance)
L = L + (S * 2) + D
W = C + (S * 2)
Here's a visual with sample data:

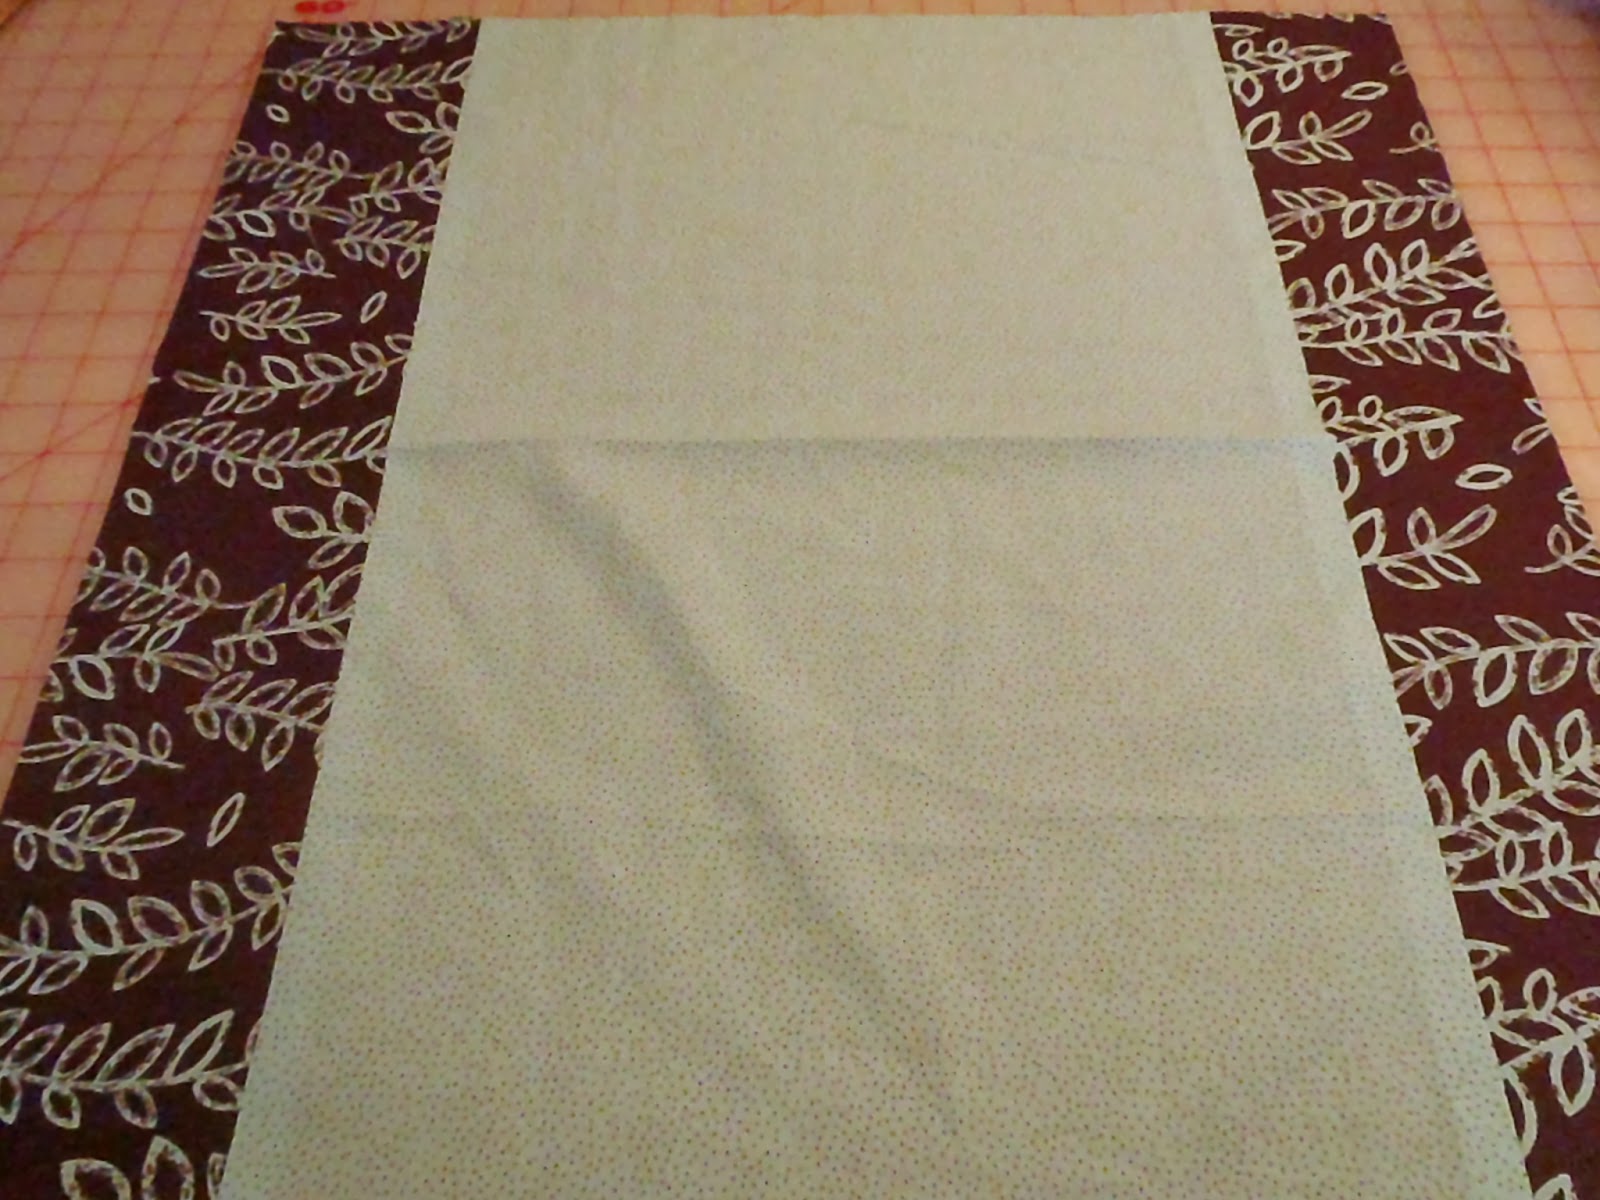
1. Cut out your fabric now with your final measurements. (I made mine with 2 fabrics, but just ignore if you don't want to do that)
2. Martha recommends sewing a circle to your pillow on the ends, but I may have more than one pillow case given the amount I'll use mine. So, I'll leave it open.
3. Make a French seam which will have no exposed edges and look purty. (or you can just make a regular seam)
- Fold your fabric lengthwise WRONG sides together
- Mark each side 2" from the end


- Sew with a 1/4" seam allowance

- Start sewing 2" from the top
- End sewing 2" from the bottom

- Press seam open

- Turn inside out and press seam from this side

- Now sew with RIGHT sides together a 5/8" seam allowance

- Turn right side out and press seam to one side
- Snip your seam allowance at the end of your stitches, from the edge of the fabric, to the stitching for the seam (see photo)


- Press open the fabric above the cut you just made.
- Press edge for casing down 1/4"

- Turn down and press folded edge to end of opening just over the top of the French seam

- Press down the edge to make the casing

- Press down the opening
- Sew all layers close to the bottom fold

- Draw your tape through the casings using a safety pin


5. Put the pillow case on
- Turn the pillow case inside out.
- Put the case on one end of the pillow.

- Turn the pillow case right side out as you pull it over the pillow.

- Cinch and tie the ribbons.

That wasn't so hard, was it?

If you want to get even more creative, you can cut stripes of different fabrics for the ends of the pillow, or do a patchwork pillow case. The possibilities are endless!
1 comment:
Thanks for your tip about putting the case on the pillow by starting inside out!
Post a Comment