 A couple of years ago I made stockings and pawkings for all of us. Since then, we lost our Pedro, and have added Spec to our little family. So, it's time to make Spec a pawking.
I based the pattern on this one. While that one is basic and does the job for beginners, the ones that I made are gorgeous. I also made the human stockings for my husband and me in a similar manner using a large stocking outline.
Pawkings look expensive, but they're actually very cheap. The small ones require little fabric. They can be made for $10-15. They take about 2 hours max to make.
To make the small pawking, you'll need:
- Either: 14" of 45" satin fabric, Or: 7" of 60" satin fabric (see notes below)
- 7" of 45" fleece or batting
- 4" of 45" fake fur
- 6" square of felt
- Matching thread for satin
- Matching thread for felt
- Scrap of yarn to match pawking
- The small pawking pattern printed out
Optional - if you've got it:
- Embroidery thread
- Embroidery machine (you can also hand embroider)
- Embroidery tear away stabilizer not water soluble - you don't want to get it wet
- If machine embroidering, buy enough extra fabric, etc. to fit your hoop
- Serger
- Sewing machine (or needle in thread if you're that kind of person)
Directions
**Read all before starting**
1. Print out the pattern.
**If you don't have a serger or a sewing machine with a zig-zag stitch, add 1/2" extra around border of pawking for seam allowance (not including paw pads)**
2. From center of each pad, cut out paw pads and discard. You can cut out all toes or just one.
3. Trace onto felt, inside cut outs, with chalk for dark felt or with my favorite secret fabulous sewing tool for lighter felt.
2. From center of each pad, cut out paw pads and discard. You can cut out all toes or just one.
3. Trace onto felt, inside cut outs, with chalk for dark felt or with my favorite secret fabulous sewing tool for lighter felt.

4. Trace toes closely together to minimize fabric waste.

5. Cut out felt on the outside of your tracing line.

6. Turn felt pieces over and trim up square bits.

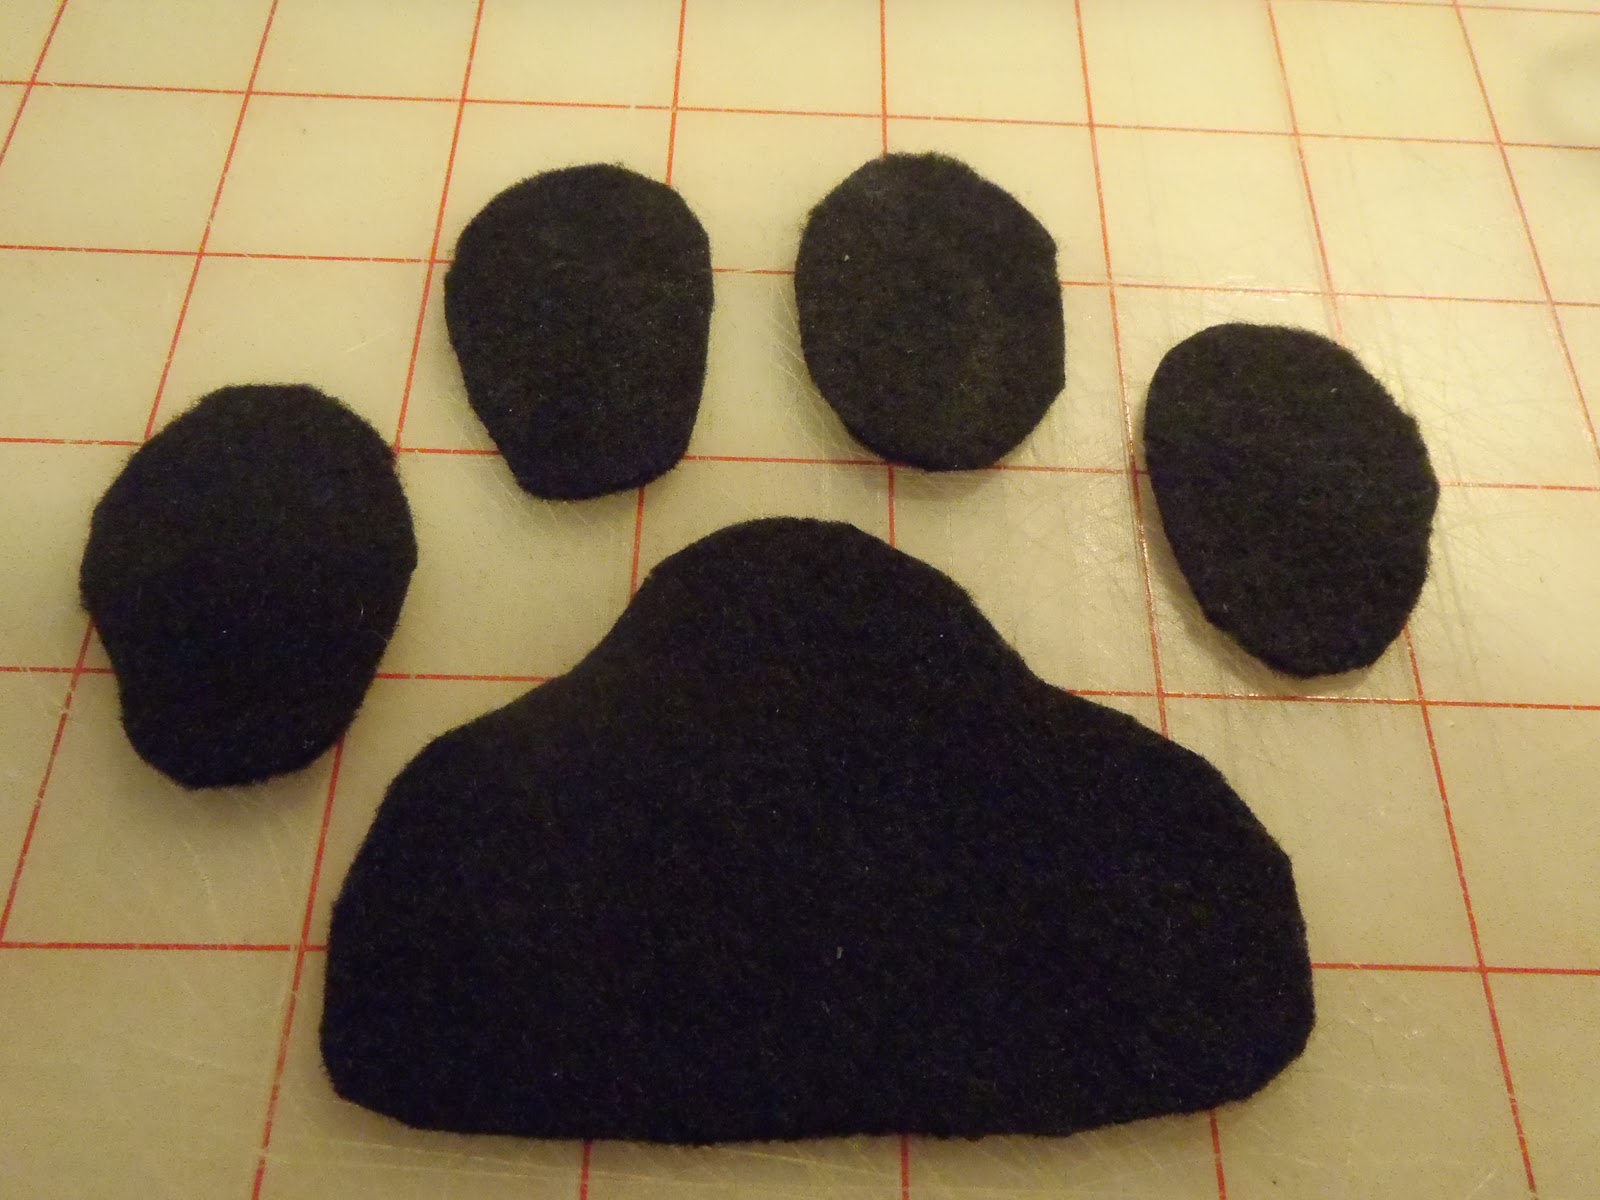 |
| Now you have your paw pads. |

Fur Top will be folded lengthwise, wrong sides together

Break-Time Chat: Sewing Curses
Let's break for a moment in making our pawkings to discuss sewing curses. I am cursed with thread tension problems. My last machine was an old Singer Slant from the 1950's. It has so many intermittent problems with thread tension that I still have PTSD over it to this day. |
| Loopy loose bobbin threads |
 |
| Don't re-size your embroidery pattern |
- Re-sizing embroidery patterns does not work. Same # of stitches in a smaller space = hard lump on fabric.
- Threads were all loose top and bottom. Things I tried:
- Had cheap costume satin, so I bought wedding-grade satin and embroidery stabilizer.
- Read the manual, watched youtube, etc.
- Adjusted upper tension and even bobbin tension.
- Learned an interesting trick for determining if your bobbin thread tension is right.
- Cleaned out the bobbin case (a little lint).
- Cleaned out the upper thread tension discs - wasn't dirty, but I now know how to do that.
- Adjusted the tension to the highest setting and got a little better.
- One website said to try taking off the whole spool and the bobbin and re-threading. When I did that, I found the thread was caught in the bobbin winder!!!!
- A chunk of green thread was caught in the bobbin but came out in one of the early attempts.
- Then I the pattern I used is weird. It's got one round of stitches that are unnecessary, and it accidentally put the wrong color over the pretty red bow. Stitches don't come out.
 |
| Green on top of red. AGH! |
 |
| Chunk of interloper green thread. |
Now Back to the Program
10. Time to get out your satin fabric. Be careful of lower quality satins as they will snag easily.
11. Iron your fabric on a very low heat with no steam.

me1. Cut out 1 rectangle large enough for the pawking and sandwich in your embroidery hoop of: fabric (top), fleece (middle), embroidery stabilizer (bottom)


me3. Do your thing. Here's some photos of the process:


me4. Tear away the stabilizer - attacking the embroidery after all that mess was fun!

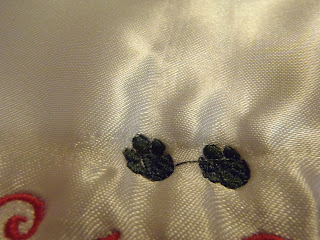
 aw look how perty!

13. In a sandwich of fabric, fleece, lining - pin then cut out your paw (without the embroidery), and re-pin without the pattern.


14. Repeat for the second sandwich. If you did machine embroidery, be very careful to line up fabric, paw pad spacing, etc. before cutting!


 17. Serge the edges of each sandwich.

 18. Now make a loop to hang your pawking with.
Get a piece of yarn double the length you want your loop to be. You can also do this with two strings of yarn for a thicker loop.
Tie a knot on one end.
Twist one end around and around while holding the other end still.
Or watch the video:
19. Attach the fur tops. With wrong sides together, pin and baste one long edge fur top to top of one sandwich.

20. Fold fur in half lengthwise, wrong sides together, and sew that edge


Note: I tried also sewing all three layers together, but it was not as smooth as sewing separately.

21. With your handy dandy marker, very lightly dot inside the paw pad areas to mark for placement.

22. Arrange and pin the paw pads on the embroidery side of the pawking.

23. Sew paw pads in place very close to the edge, making sure to keep an even margin. Otherwise, it will look off.


25. Insert and pin your previously made loop inside one of the fur seams. The knot will stick out the side, and the main section of the loop will be inside next to the right sides of fabric for now.

26. Sew sandwiches together very close to serging (or edge).

27. Wooo Hooo! You're done. Now add it to your stocking and pawking family.


11. Iron your fabric on a very low heat with no steam.

Machine Embroidery
skip this section if not doingme1. Cut out 1 rectangle large enough for the pawking and sandwich in your embroidery hoop of: fabric (top), fleece (middle), embroidery stabilizer (bottom)

me2. Make sure your software is correct

me3. Do your thing. Here's some photos of the process:


 aw look how perty!
me 5. Trim extra threads

Continue with Pawking
12. Cut out rectangles of the approximate size of the pawking.13. In a sandwich of fabric, fleece, lining - pin then cut out your paw (without the embroidery), and re-pin without the pattern.


14. Repeat for the second sandwich. If you did machine embroidery, be very careful to line up fabric, paw pad spacing, etc. before cutting!

15. Now you've got two sides for your pawking all pinned and ready to sew.
16. Baste very close to the edge of the borders of each sandwich


Get a piece of yarn double the length you want your loop to be. You can also do this with two strings of yarn for a thicker loop.
Tie a knot on one end.
Twist one end around and around while holding the other end still.
Or watch the video:
19. Attach the fur tops. With wrong sides together, pin and baste one long edge fur top to top of one sandwich.

20. Fold fur in half lengthwise, wrong sides together, and sew that edge


Note: I tried also sewing all three layers together, but it was not as smooth as sewing separately.

21. With your handy dandy marker, very lightly dot inside the paw pad areas to mark for placement.

22. Arrange and pin the paw pads on the embroidery side of the pawking.

23. Sew paw pads in place very close to the edge, making sure to keep an even margin. Otherwise, it will look off.

24. Pin the two sandwiches together, right sides facing.

25. Insert and pin your previously made loop inside one of the fur seams. The knot will stick out the side, and the main section of the loop will be inside next to the right sides of fabric for now.

26. Sew sandwiches together very close to serging (or edge).

27. Wooo Hooo! You're done. Now add it to your stocking and pawking family.


Large Pawking
To make the large pawking, make these alterations:
- Use the large pawking pattern.
- Remove 3" from the top to create your fur top.
- Base your fur top on those 3" cut off. It should be 6" tall (3" when folded).
- Increase fabric, etc. yardage
Becky's Bloopers
I learn lots of what not to do so you don't have to. You're welcome.- Don't buy cheap satin
- Don't cut out fabrics separately
- Don't cut out fabric in pattern for embroidery side before embroidering
- Make sure to use embroidery stabilizer
- Don't attach the paw pads until the end
- Make sure to do sewing and serging on non-embroidered side first. If you screw up, it's not as big a deal.
- Don't lose your paw pads
- Make sure to put loops for all your pawkings and stockings on the same side, otherwise, they face the wrong directions.
- Make sure to fill your pawkings with lots of good stuff (Fuji recommends it) only right before they get to open presents. Or you might be missing a pawking before it's time.
 |
| Difficult to keep layers together serging if not pre-sewn |
 |
| Lots of loss, and uneven edges when not cut out and serged as a sandwich |
No comments:
Post a Comment